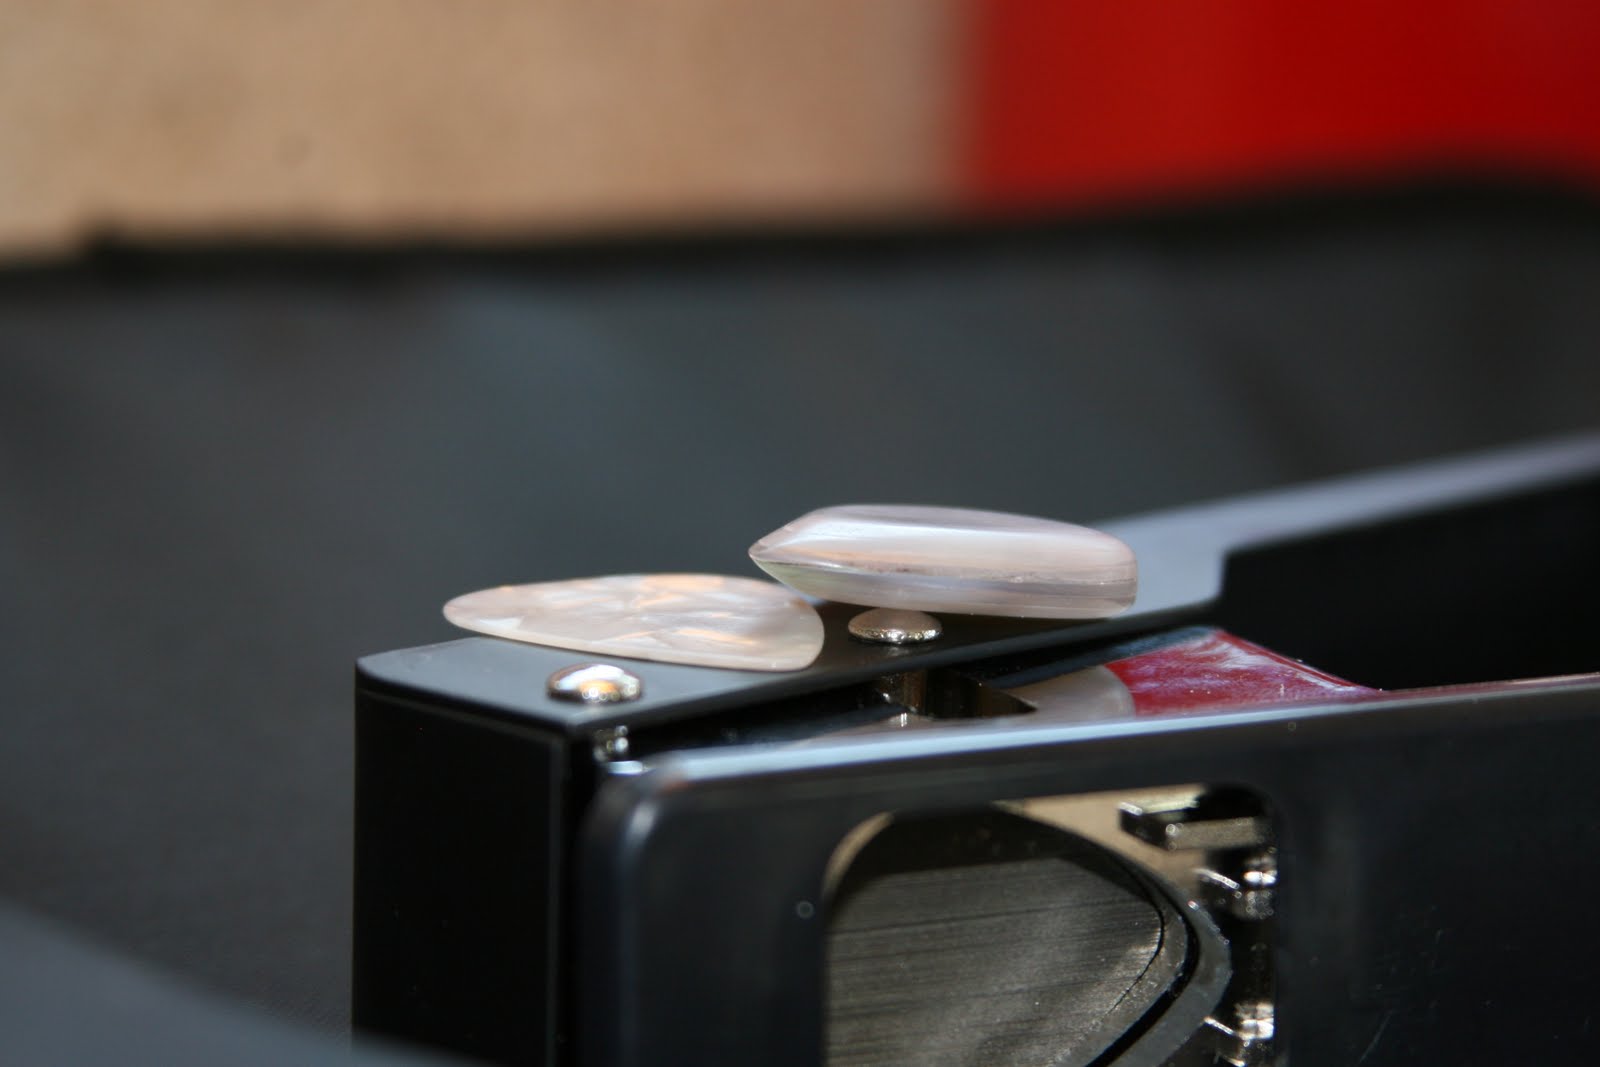
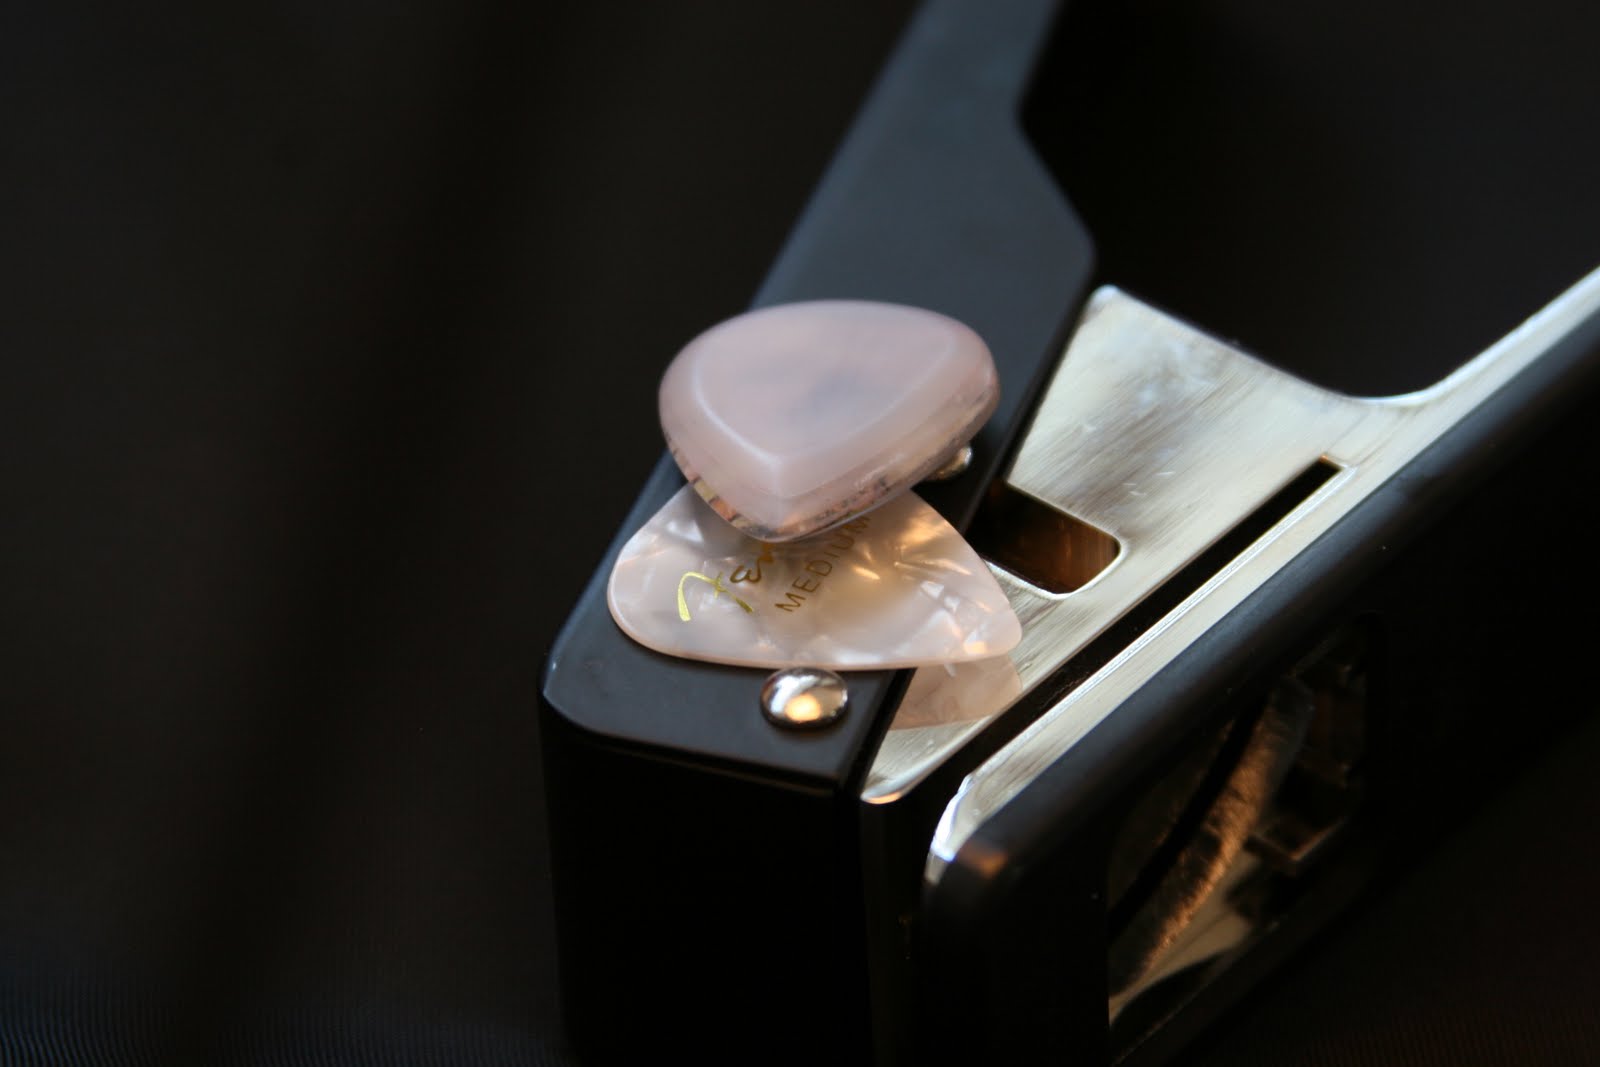
See a complete description of these in our HOW TO section on our website.
Monthly Archives: September 2009
Pick Punch and StazOn stamp printing

Here are some stamped picks I made. I have played with these and show no wear after a few days playing. The one pick on the right was not stampled completely due to the rounded edges on the 2.0mm thick pick. I used StazOn stamping ink designed for plastics and a regular stamp. I really like these picks. The only surface prep I did was a quick light sanding with super fine sandpaper just in case but not sure if it is even necessary with this ink.
I added a second color to one of the picks and it worked out nicely. I guess I could have spent a little more time on this looking close up at it..LOL
Ed Hardy Tattoos and Pick Punch Get Together
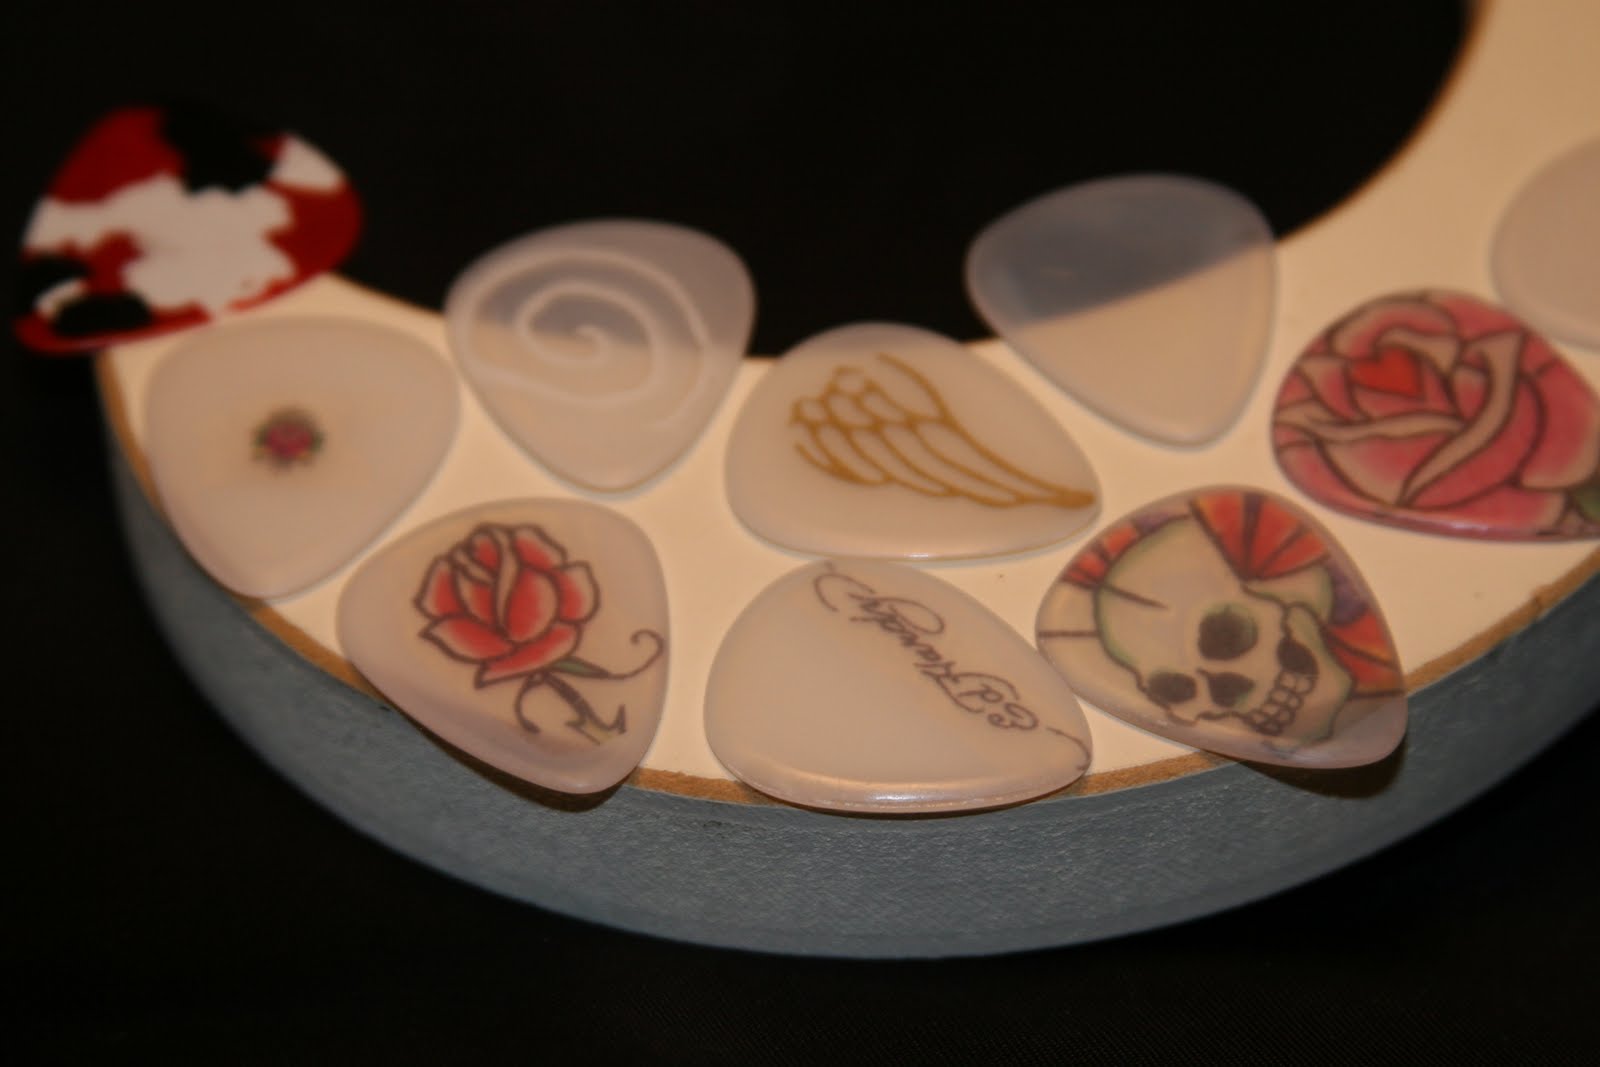
Here are some Ed Hardy picks we made. Christian Audigier makes some really cool stuff. These images are embedded inside the guitar pick. We made these from skin tattoos. There are so many examples of tattoos out there and the temporary tattoo market seems to always stay on the latest trends with graphics.
short backorder delay possible
Hello everyone,
Both our normal website and our ebay may experience a backorder situation soon. Our shipment is arriving here in Indianapolis on October 6th. If you order near the end of this month there might be a week or so before we can ship it out to you. Sorry for the growing pains.
Von
Owner Pick Punch
Our Pick Punch Thick Picks
Check these out!
Here are some picks that I made. These are probably my favorite of all my picks including all my store purchased ones. I have pretty much every pick ever made now.
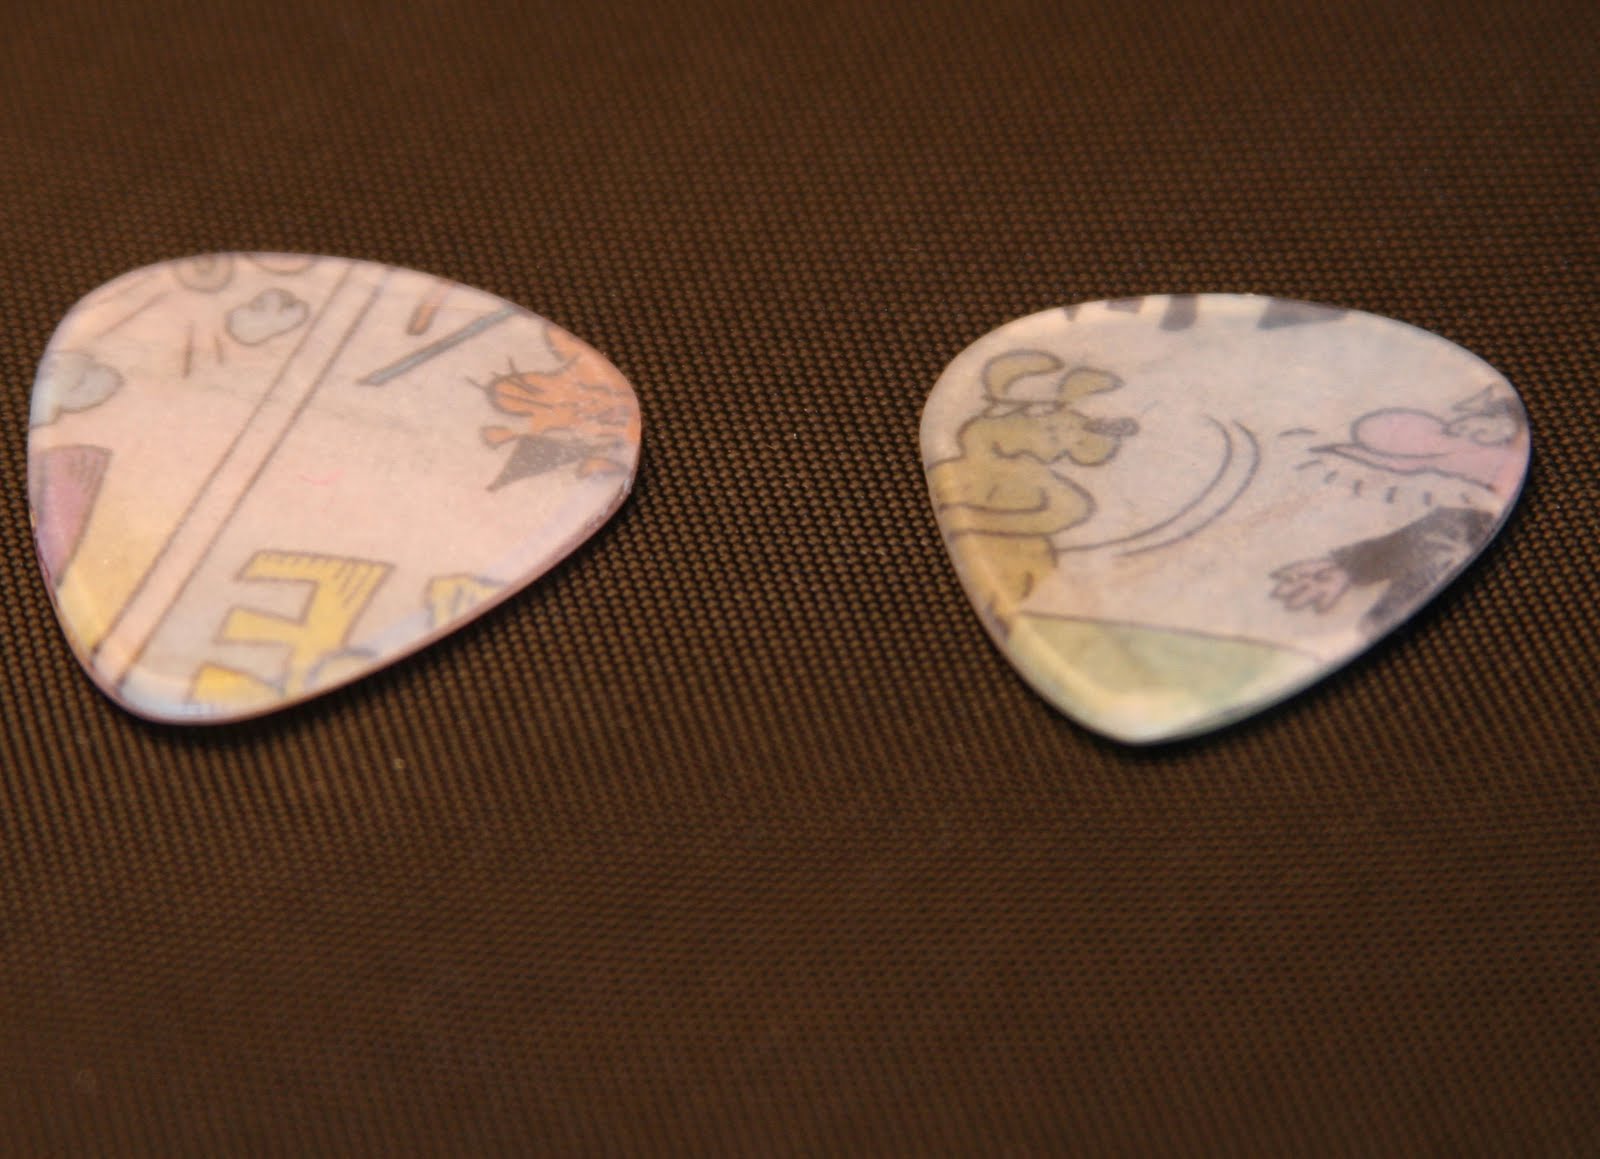
ZOOM IN AND CHECK THESE OUT! Note that the comic is INSIDE and not on the surface. My son drew the skull one on a piece of paper and the rest came from the paper comics. Check out our website HOW-TO section for more information. There is a link on the page or go to www.pickpunch.com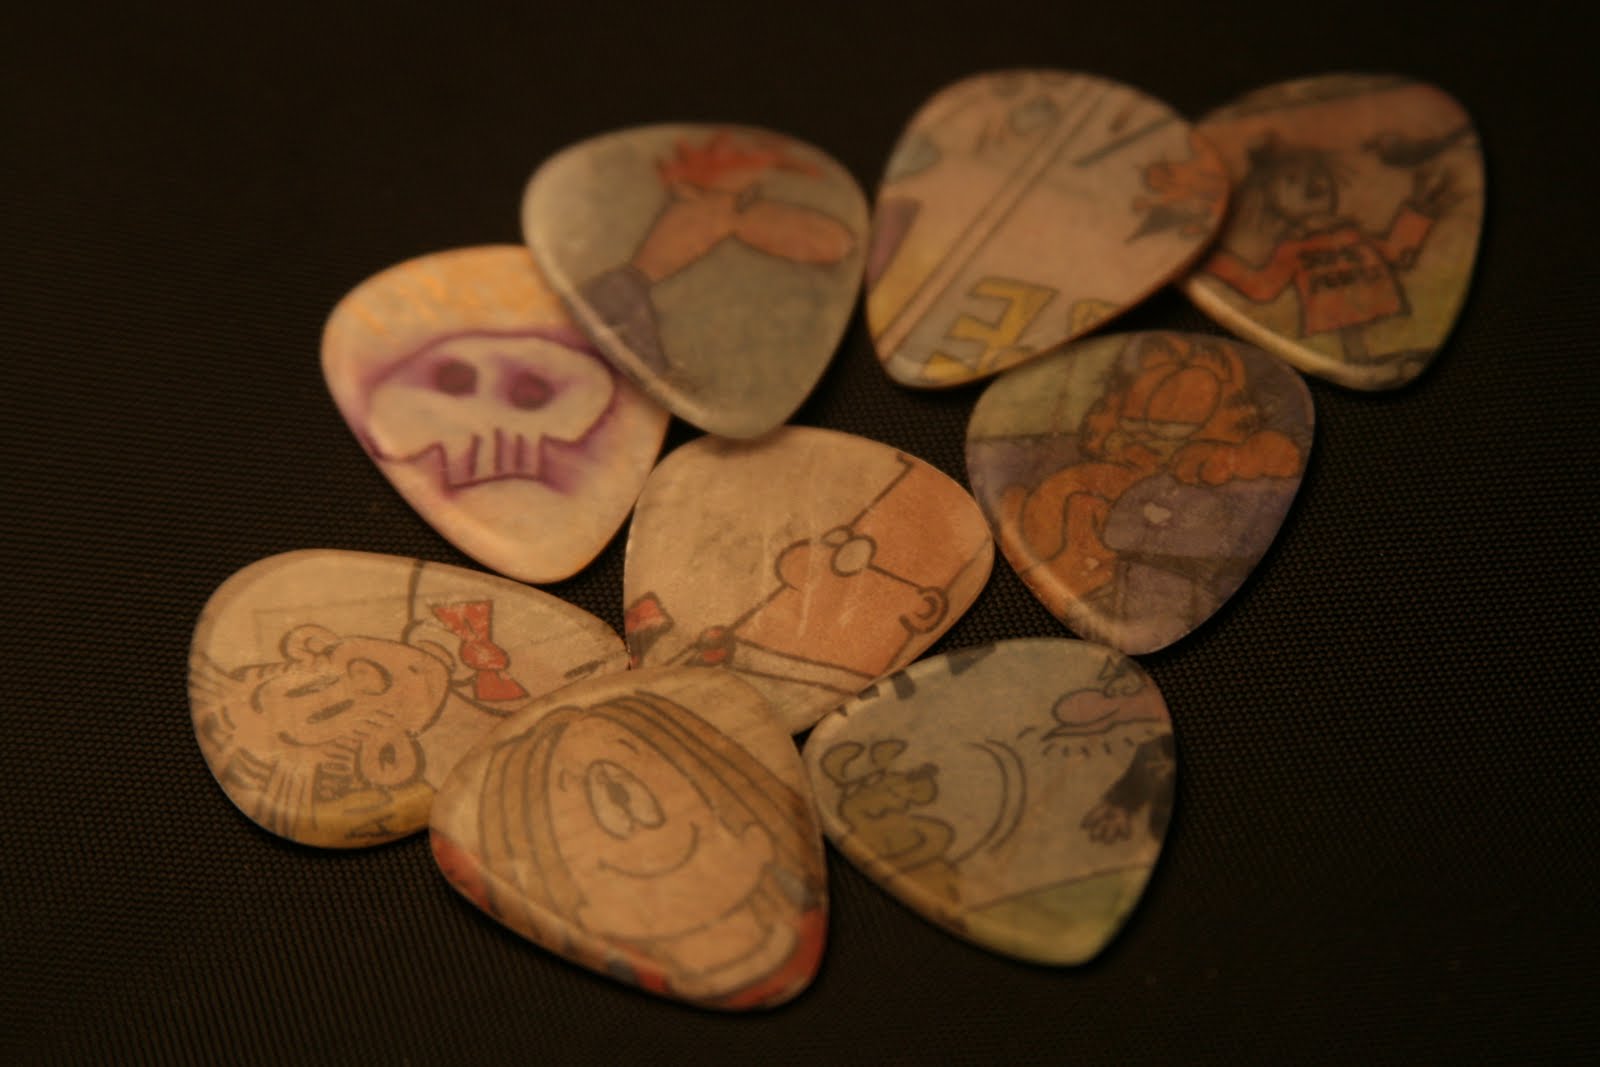
Here is the back of the picks:
CLICK TO ZOOM (note that the image is INSIDE the pick and not on surface)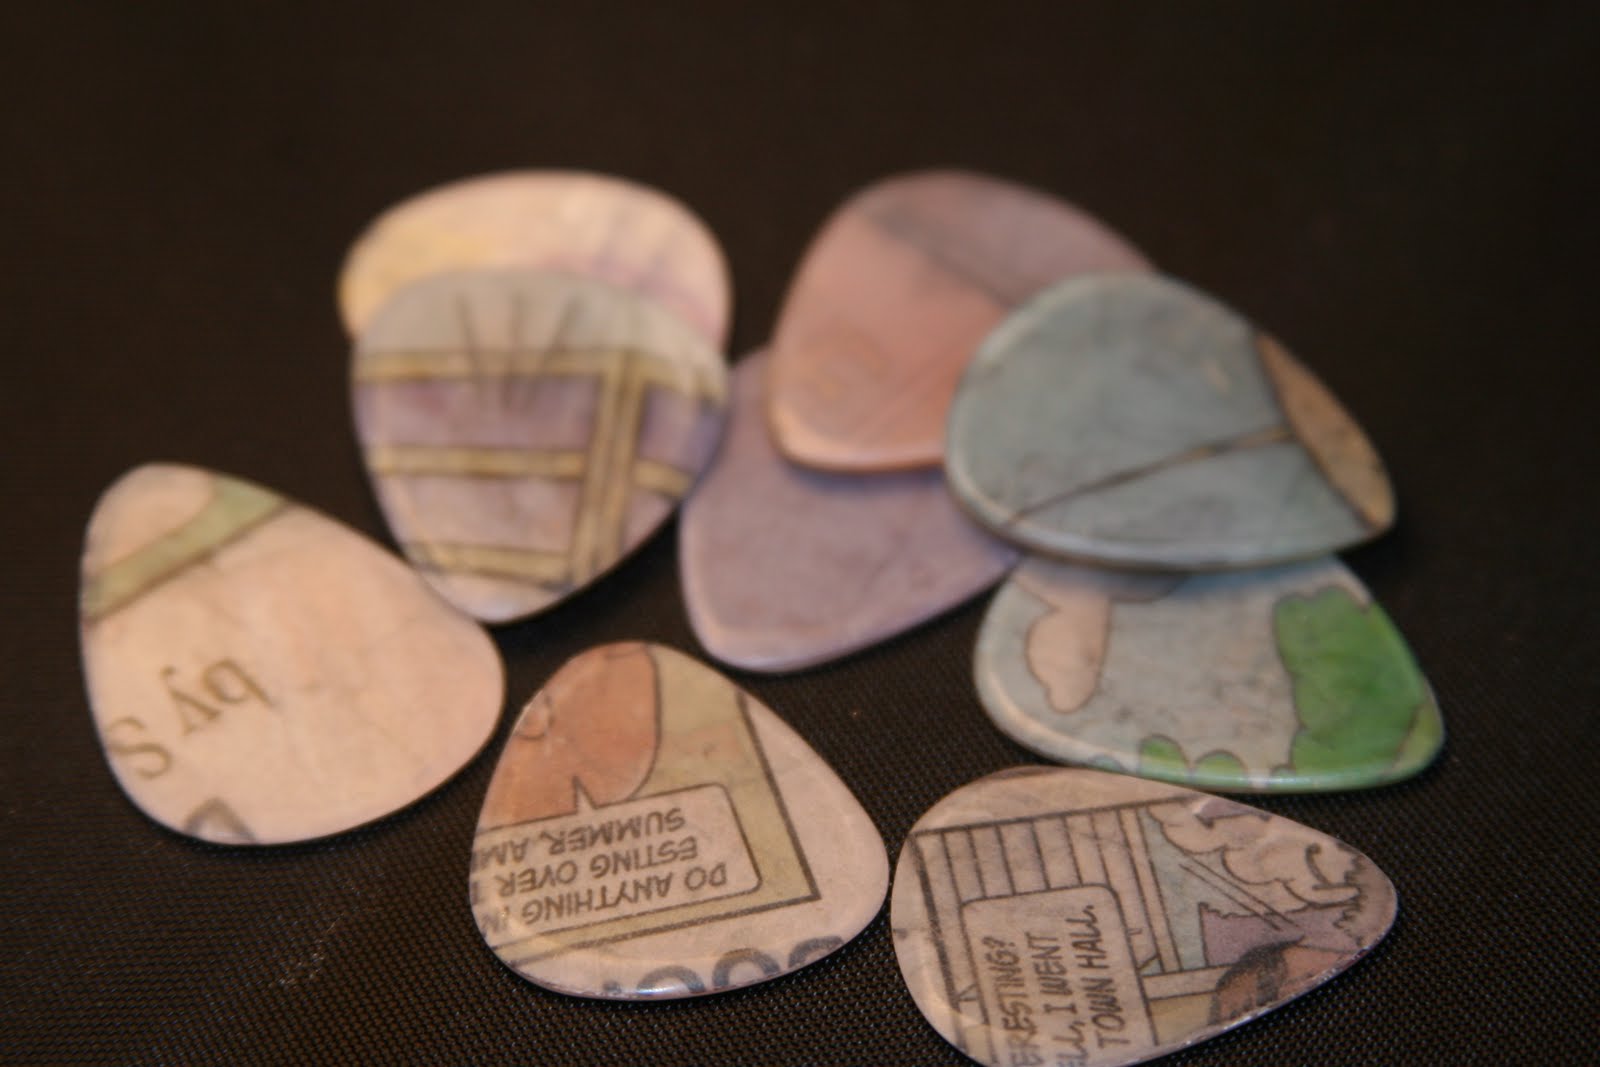
More picks we made
click to zoom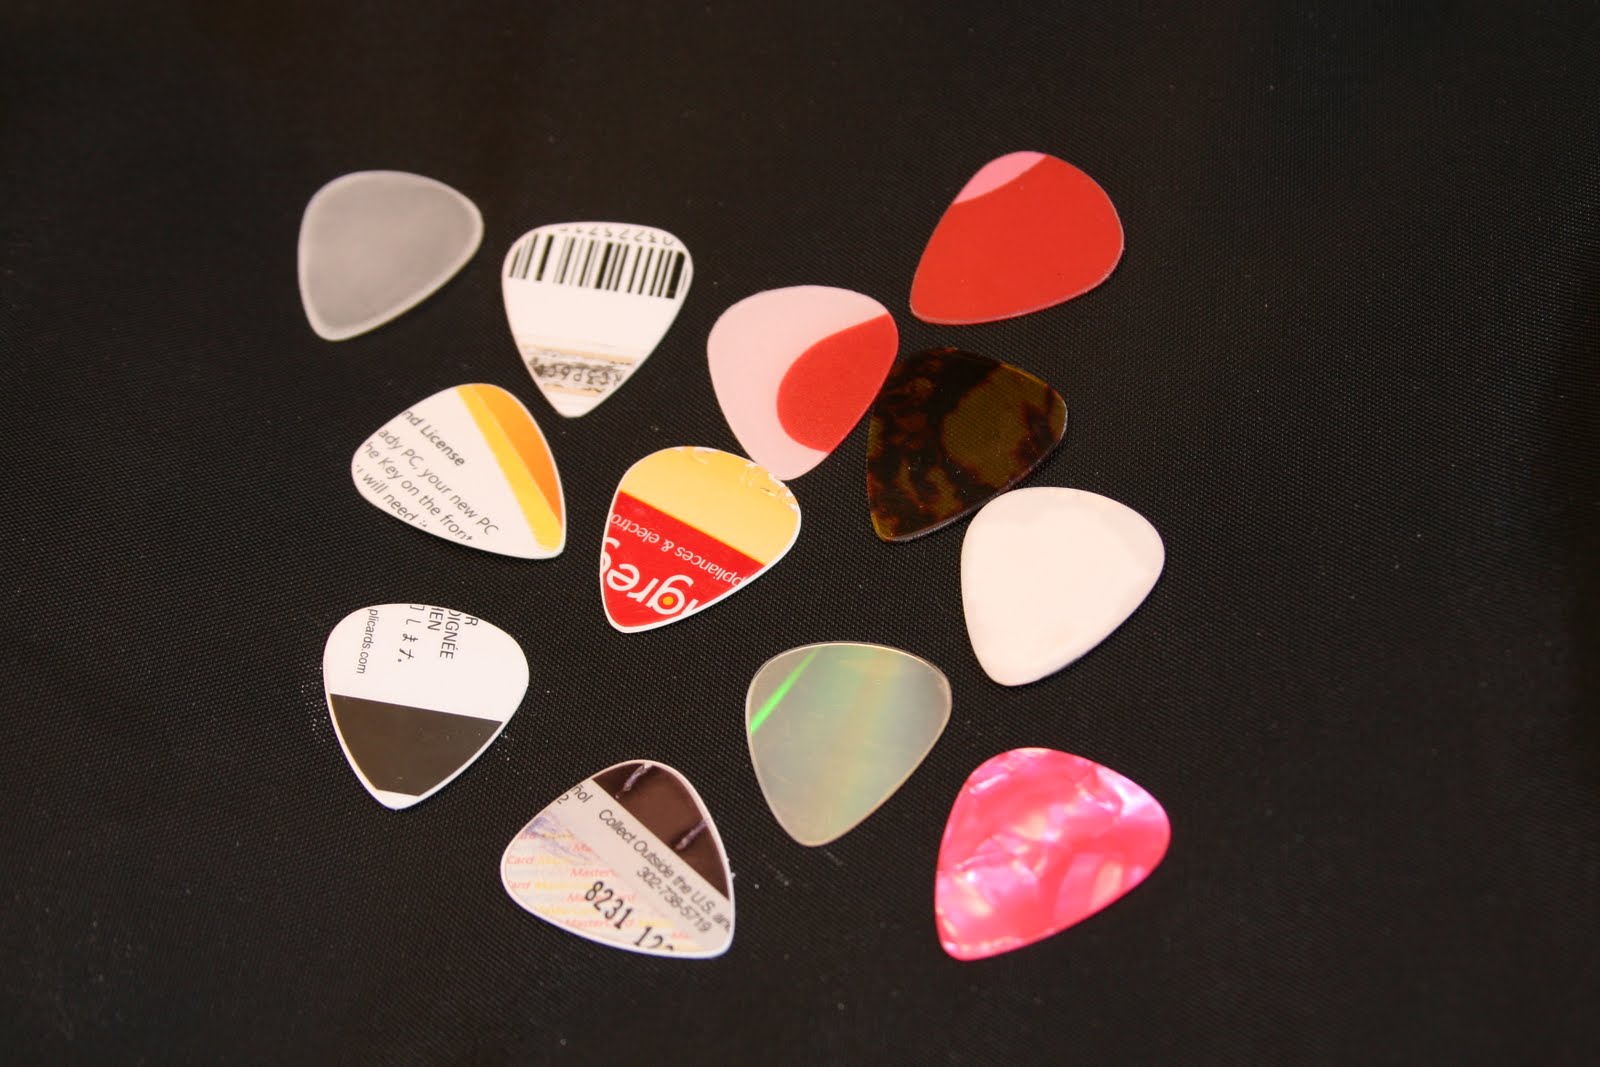
click to zoom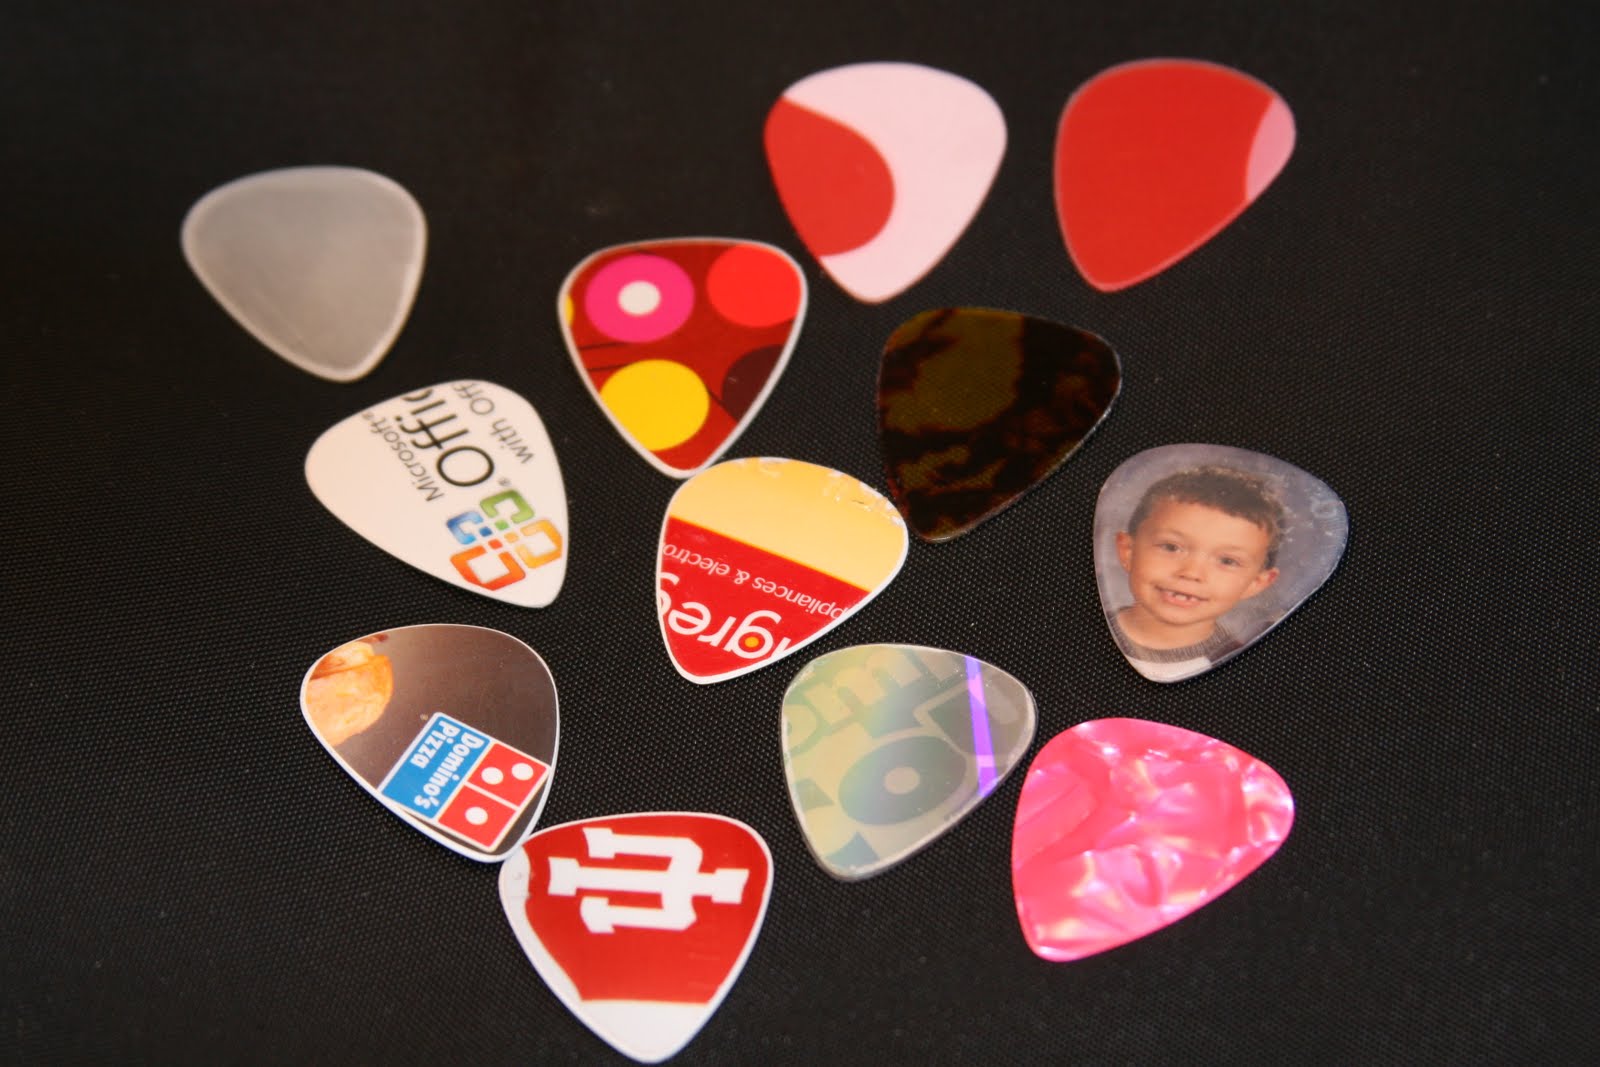
click to zoom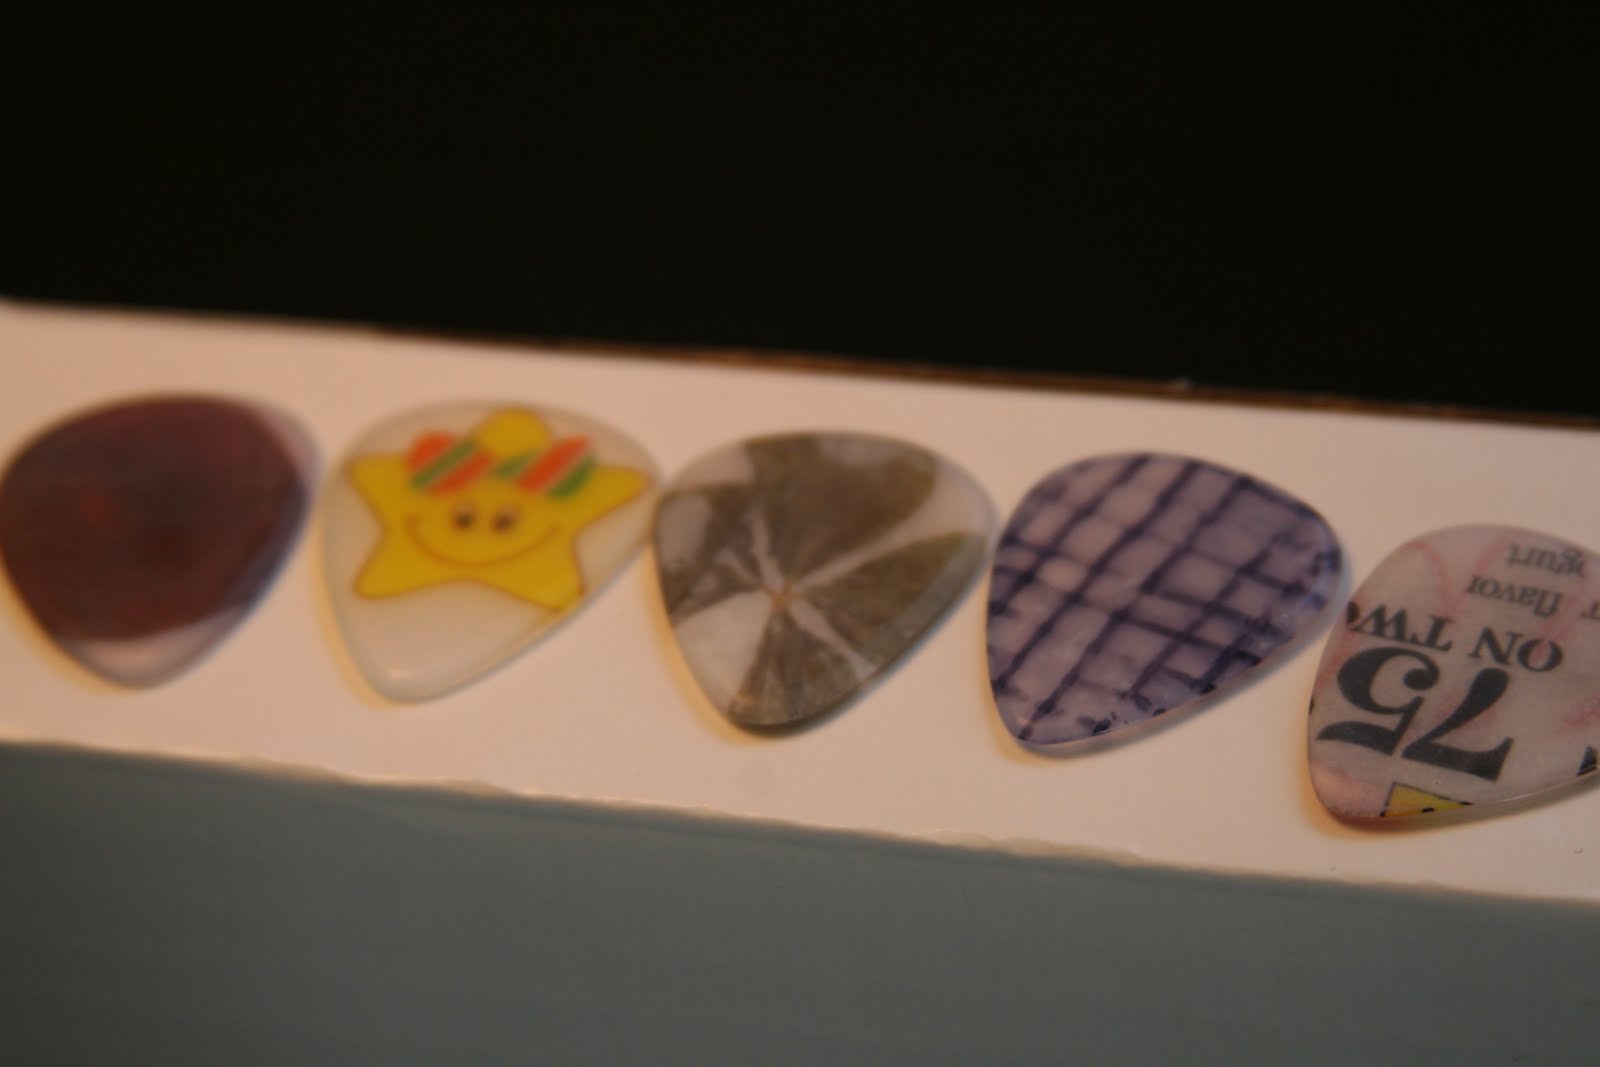
click to zoom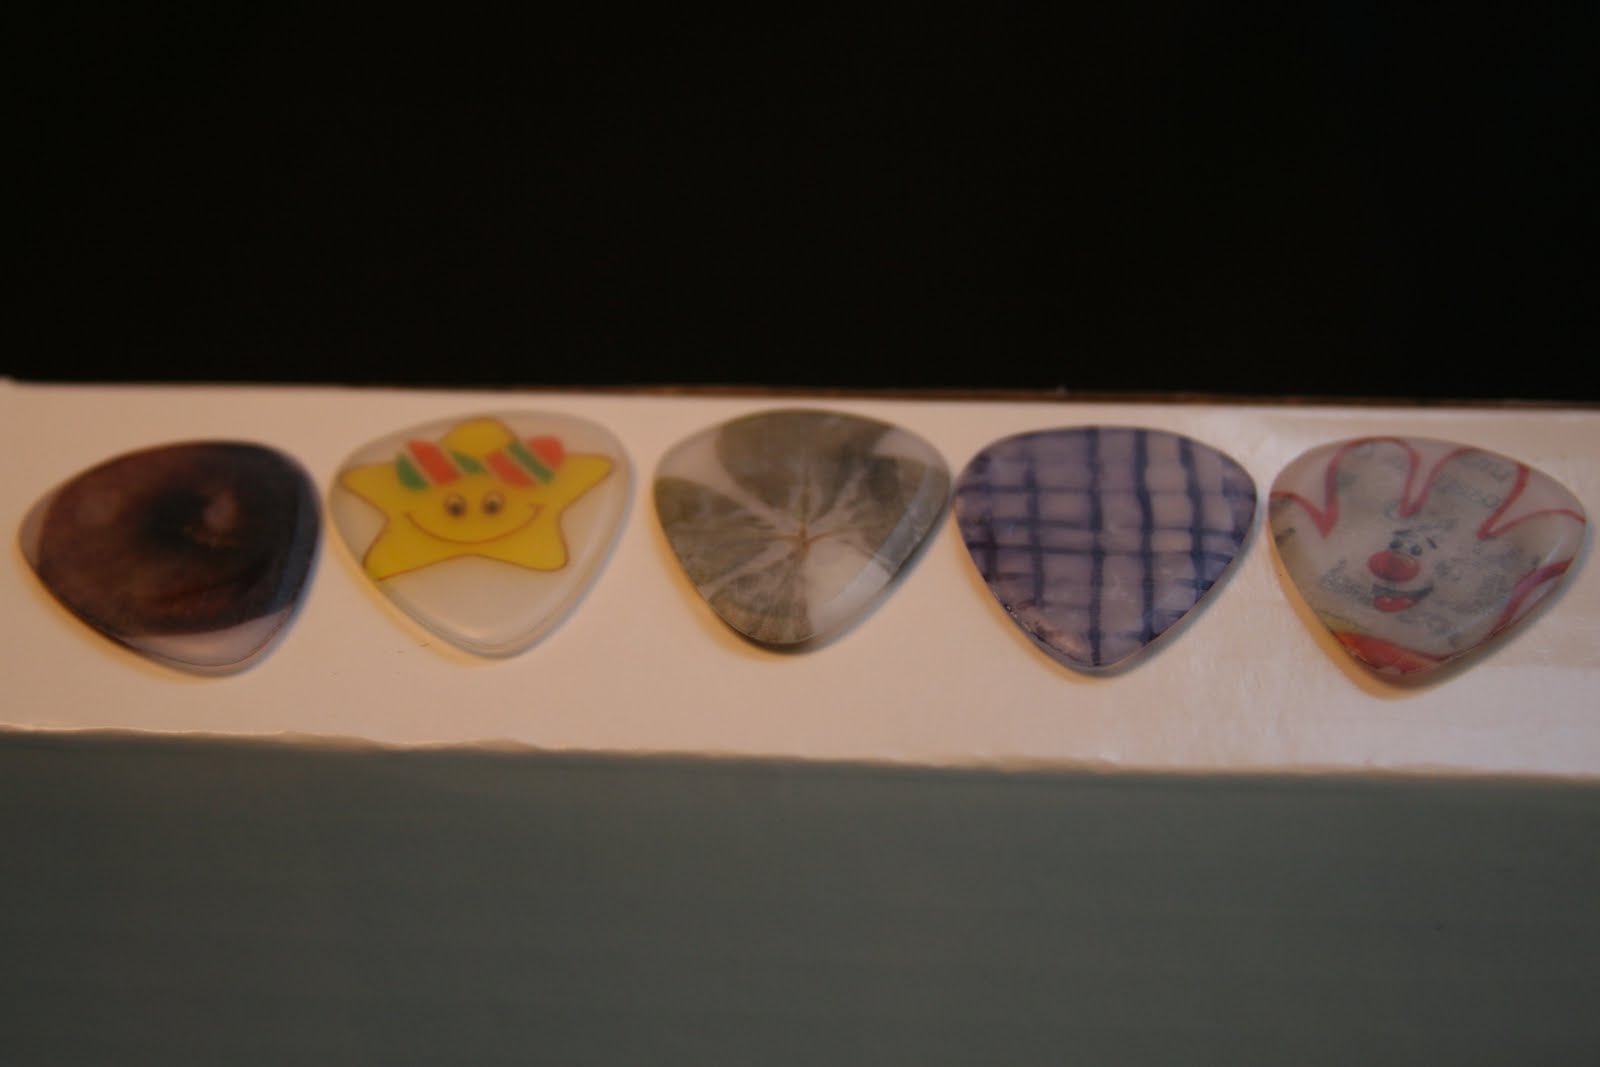
HERE IS MY FIRST ATTEMPT AT SOME AIRBRUSHING AND SPRAY PAINT: I know these look pretty crappy but the logistics are there. The paint I am using is ACRYL from pactra primer similar to the stuff they prime die-cast cars. I bought a $19.95 Testors kit at a hobby shop with compressed can air. It works pretty well and came with 6 colors of acrylic paint. The paints that it came with also worked well as far as durability. I also used to Krylon Fusion for plastics in a spray can and it sticks very well. I used some small templates both store bought and some quickly cut out ones from an exacto knife. I lightly sanded these just in case but not sure if it is necessary either. I have yet to test some of the other emulsions that were suggested by someone because this stuff worked good enough where I didn’t think it was necessary. I will replace this picture later when I have more time and get some advice. This was my first time ever using an airbrush as you can tell in the image. I AM GOING TO HIT THE AIRBRUSHING FORUMS AND SEE IF THEY CAN HELP ME KICK THIS UP A FEW NOTHCES FOR US NOVICES. I admit they look pretty sad.
I made some more comic picks.
Here are some picks that I made. These are probably my favorite of all my picks including all my store purchased ones. I have pretty much every pick ever made now.
ZOOM IN AND CHECK THESE OUT! Note that the comic is INSIDE and not on the surface. My son drew the skull one on a piece of paper and the rest came from the paper comics. Check out our website HOW-TO section for more information. There is a link on the page or go to www.pickpunch.com
Here is the back of the picks:
CLICK TO ZOOM (note that the image is INSIDE the pick and not on surface)


